How to present clothing design options to a client before sampling
The short answer
To present clothing designs to a client before sampling, start with an agreed brief, show a small set of comparable concepts, explain the fabric and construction decisions, and record exactly what the client approves. Each concept should make its silhouette, important details and unresolved questions easy to understand. A visual approval establishes the design direction; fit and construction still need development and checking.
For an independent designer or atelier, this presentation is a working conversation. It helps a client explain what they like and gives you a clearer basis for the next stage of paid work.
At MadeApt, we recommend building the presentation around the decisions the client actually needs to make.
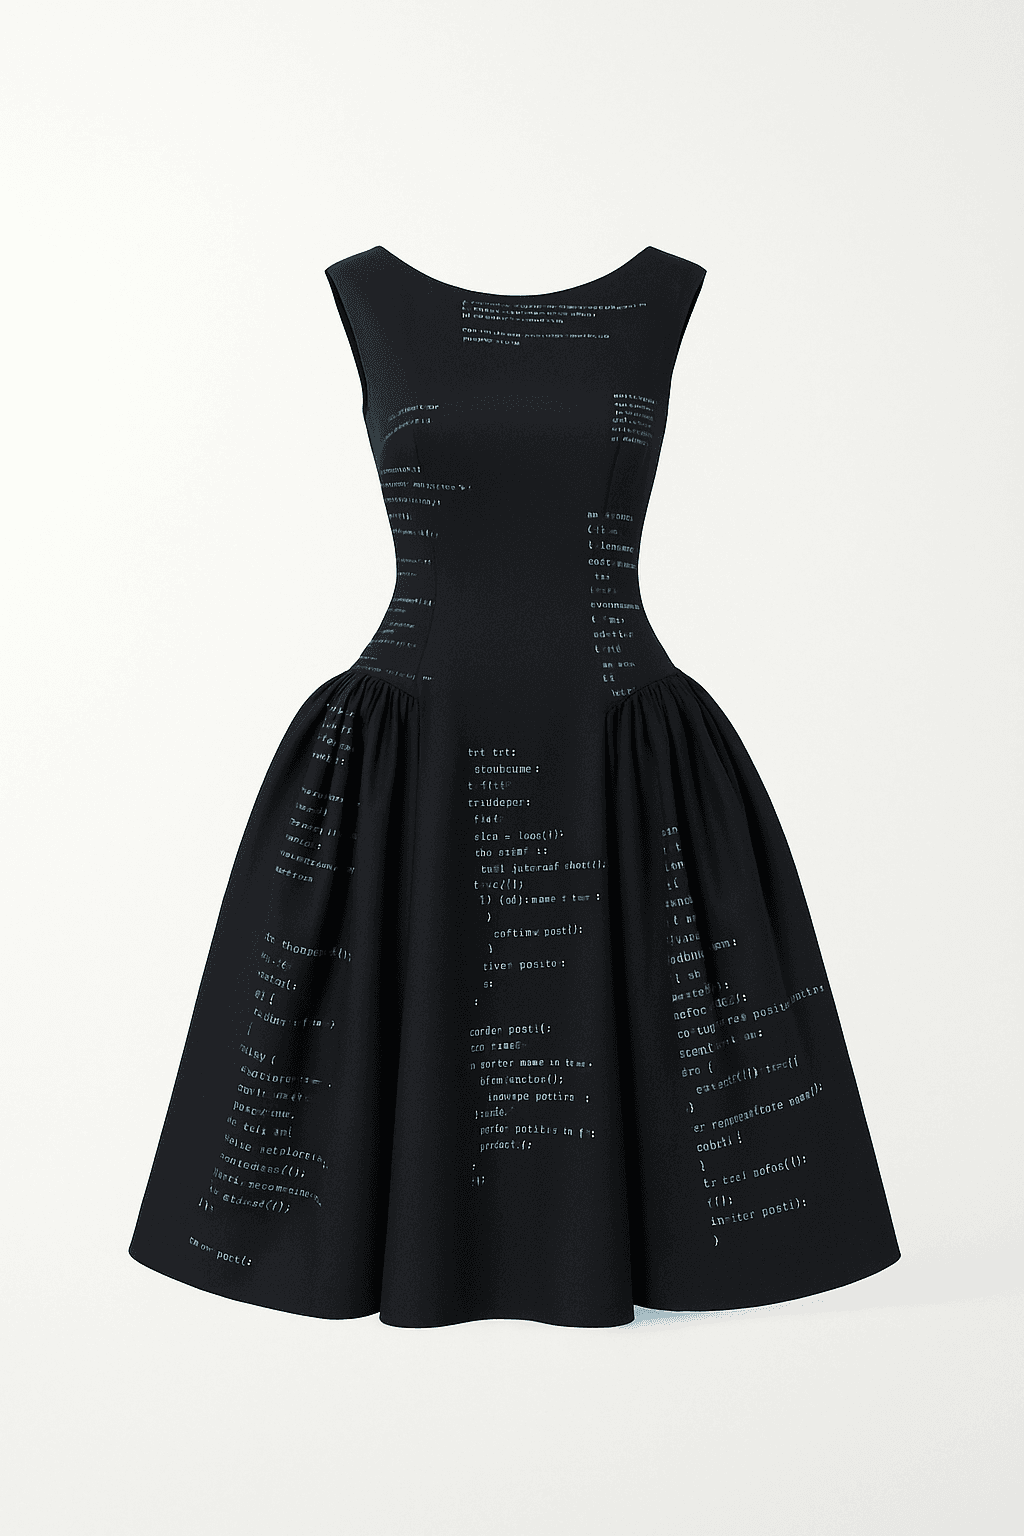
What should a fashion design presentation include?
A useful client presentation brings together six elements:
| Element | What to include |
|---|---|
| Brief | Intended wearer, occasion, budget range, timing and essential requirements |
| Design options | A small selection with clear differences and consistent views |
| Detail notes | Neckline, sleeves, length, pockets, closures and other relevant features |
| Fabric direction | Proposed fabric, colour, print and whether a physical swatch is approved |
| Open questions | Items requiring a quote, maker review, material check or fitting |
| Approval record | Selected version, requested changes and the authorised next step |
The presentation can be a PDF, a slide deck or a shared document. Choose a format your client can open easily and comment on without learning a new system.
Start by agreeing on the brief
Before developing options, write a short description of the garment and its purpose. Include how the person wants to feel in it and any practical requirements.
For example, a fictional client brief might read:
Fictional client brief
A dress for an evening event, with a defined waist, coverage at the upper arms and enough movement for sitting and dancing. The client prefers a floral fabric and wants to wear a conventional bra. Final fabric, price and delivery timing need confirmation.
This is more actionable than a folder of attractive dresses. It tells you which details need to survive as the design changes.
Ask the client to identify what they like in each reference: the sleeve shape, the colour, the proportion or the overall mood. One image can contain several unrelated ideas. Naming the relevant detail prevents you from developing the wrong one.
Show two or three meaningful design directions
Two or three options are a useful starting point for a focused presentation. This is a practical recommendation, not a universal rule: a collection review may need more, while a minor alteration may need only one.
Give each option a purpose. For the fictional brief above, you might present a softly gathered skirt, a cleaner A-line silhouette and a wrap-inspired design with a secured bodice.
Keep the background, pose, framing and image scale as consistent as possible. If every option also changes colour, fabric and styling, it becomes difficult to tell which garment detail the client prefers.
Use stable names such as “Concept A — gathered skirt” and a version number. Keep those labels when you request feedback.
Use AI visuals with a clear design record
AI-assisted images can help communicate an early direction, particularly when a client struggles to picture a written description. The designer should review each image against the brief before presenting it.
Check that the image has retained the intended seams, sleeve attachment, closure, neckline and hem. If you show front and back views, make sure they describe the same garment. Label a missing or unresolved detail rather than inviting the client to assume it has been worked out.
Pair each image with a short note:
Example concept note
Concept B, version 2. A-line midi dress with elbow-length sleeves and a defined waist seam. Floral placement is indicative. Back closure and lining will be confirmed during technical development.
The note remains useful even when the image is forwarded separately from your conversation.
MadeApt supports early garment concept exploration and refinement, including ideas developed from written descriptions and reference images. Designers can explore those possibilities through our fashion collection design page. A concept still needs the appropriate technical and maker review before production.
Make fabric decisions visible
A client may approve the appearance of a soft, fluid skirt while the proposed fabric produces a much firmer shape. Explain material choices alongside the design, and distinguish a digital fabric preview from an approved physical swatch.
For each option, identify what is known: supplier reference, composition, colour, approximate weight where available, and whether the material has been physically assessed. Keep unknowns explicit.
If you are changing only the fabric, use the same base design for each comparison. Our companion guide, How to Visualise Your Own Fabric on a Clothing Design, explains how to prepare that comparison and check print scale.
Ask questions that produce usable feedback
“What do you think?” often produces an emotional response without a clear instruction. Follow it with questions tied to decisions:
- Which silhouette feels closest to what you want?
- Is this neckline the preferred shape, and does its depth need changing?
- Are the sleeve coverage and garment length right?
- Which fabric option should we investigate further?
- Is anything shown here inconsistent with how you need to wear the garment?
Then repeat the decision back in plain language. For example: “We are proceeding with Concept B, keeping its skirt shape and increasing the sleeve length. Fabric selection remains open.”
Record approval before commissioning a sample
Save one current version with the agreed changes incorporated. Record which decisions are settled, which remain open, and what the client is authorising you to do next.
A useful approval note identifies the concept version, selected design details, fabric status, scope of the next stage and any agreed costs. Avoid treating an enthusiastic message about an image as approval for an unquoted production commitment.
The maker also needs technical information. A tech pack commonly includes flat drawings, material specifications, garment measurements and construction notes; the appropriate detail depends on the development arrangement. Techpacker’s guide to tech packs (opens in a new tab) explains these components.
Frequently asked questions
Related guides
how to visualise your own fabric on a clothing design
Preparing fabric photos, recording print scale and checking a digital preview before choosing materials.
from fashion concept to first sample: what your maker actually needs
The brief, material decisions, fit information and agreed scope a tailor or sample maker needs.
from AI design to tech pack
What a tech pack must contain, what AI can draft, and where human verification is non-negotiable.
Explore a design workflow for your studio
MadeApt connects digital garment exploration with human making. If you run a design studio or atelier and want to discuss using that workflow in your practice, express interest in MadeApt Tech. Tell us what you currently show clients and where decisions tend to get stuck.